
Description
Minimalism, an artistic movement that emerged in the United States in the 1960s, sought to feature the basic elements and eliminate non-essential components. In recent years, minimalism is making a strong comeback and you're likely to find minimalist design in everything from product packaging and websites to photography and home interiors.


Post a Comment
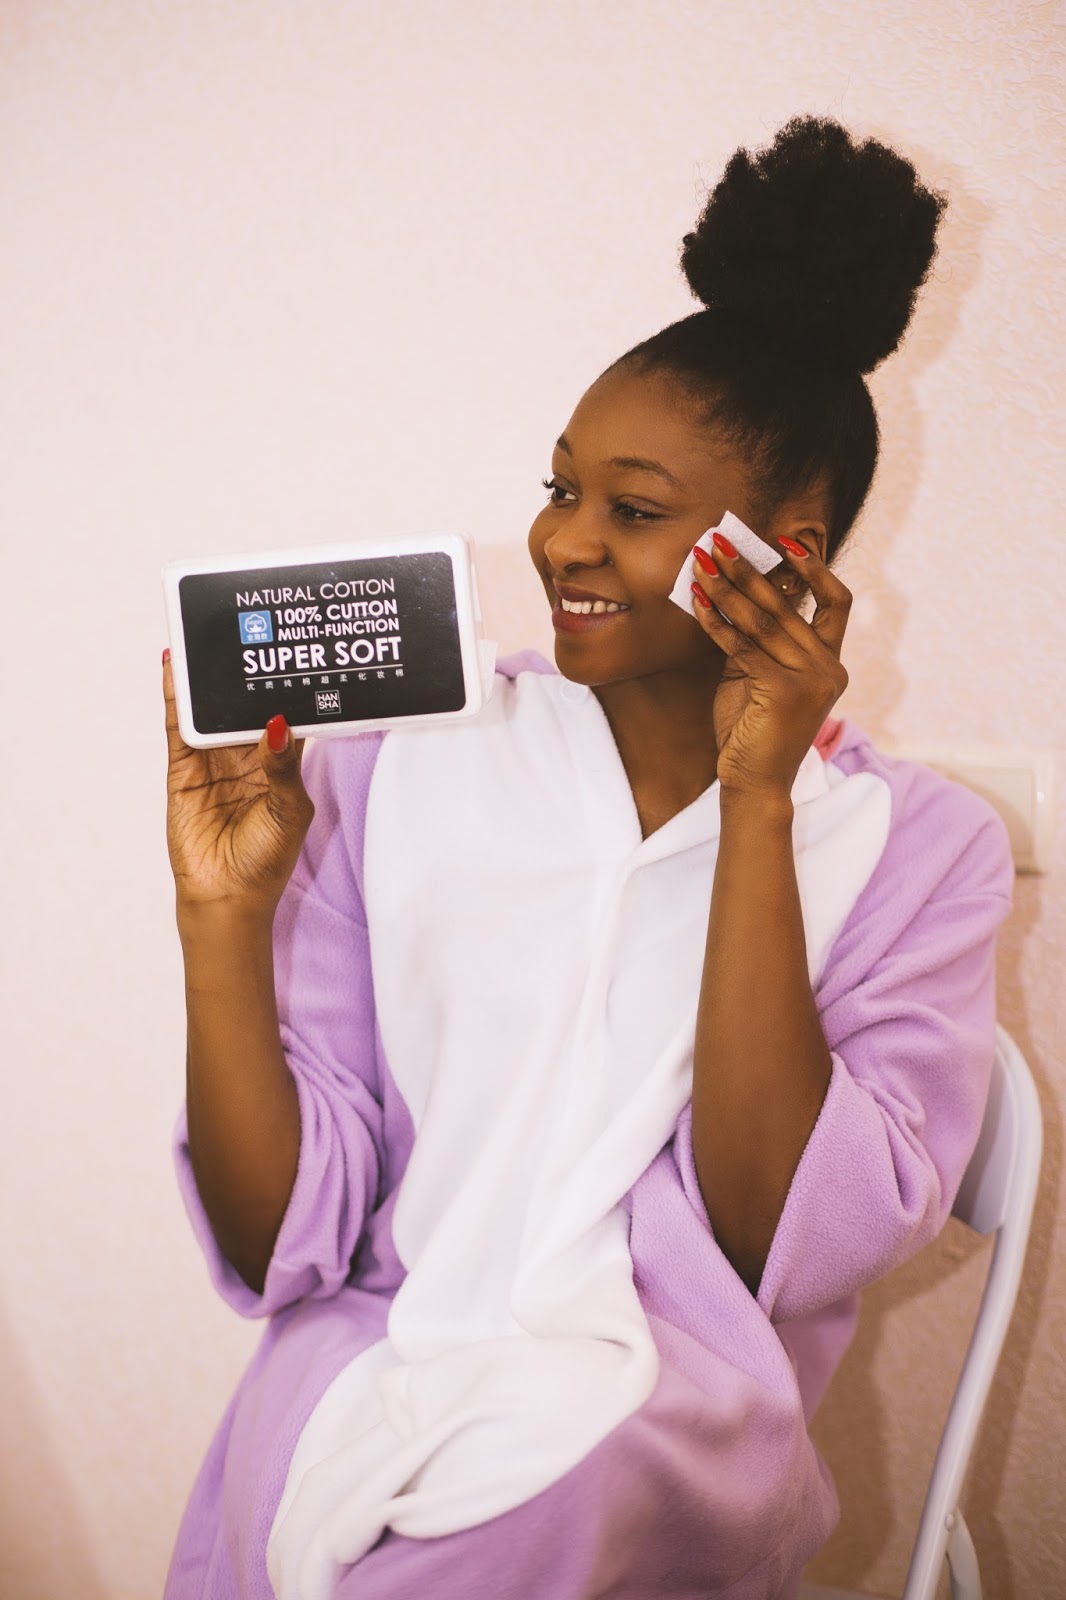
To get healthy and glowing skin, you need to show it the love and care it deserves. By caring for your skin the right way, you’ll see and feel a real difference in your skin’s complexion. Read on for simple tips on washing your face the right way, while taking care of your skin at the same time.
1. Wash your hands first
If your hands have any bacteria on them (which they will from day-to-day use), this will end up transferred to your face.
2. Water is not enough
Water alone won’t be able to remove excess sebum, oil soluble particles or other types of dirt. It simply doesn't have the same cleaning power and ability to remove dirt like an effective cleanser does.
3. Lukewarm water
If you use a facial cleanser that requires water, make sure you use lukewarm water to wash your face. Lukewarm water will help open your pores while water that is too hot will dehydrate your skin.
4. Be gentle on your skin
The skin on your face is more sensitive than the skin on the rest of your body, so it needs to be handled with extra-care. The trick is to be gentle. Don’t scrub your skin aggressively while washing or applying your moisturizer. To dry your face, just lightly pat it with a soft towel and avoid rubbing.
5. Don’t over cleanse
Yes, there’s such a thing as over cleansing. Cleansing twice a day is enough. Over-cleansing can weaken the natural moisture and lipid barrier that helps protect your skin. This can also increase the chance of allowing irritants and allergens to enter the skin.

6. Find the right cleanser for your skin type
It’s very important to find the right cleanser for your skin type. Using the wrong product could actually lead to damaged skin. That’s why it’s so important to look for a gentle cleanser that thoroughly cleans your face and at the same time cares for your skin.


 |
 |
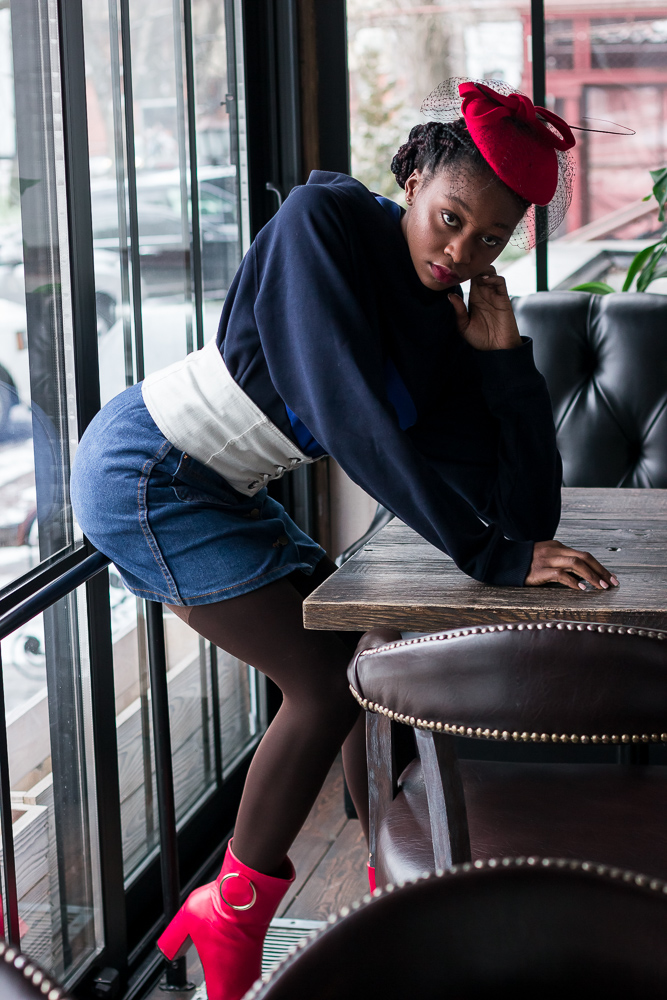
During my visit to Dragobrat we had a photo contest and I won. The Ride and Travel team presented me with this Hoodie by a Ukrainian street wear brand designer called Hovanky. I totally love the texture which keeps you warm with a striking design. Click to view more about my trip to the Carpathians.

Here are the written instructions in case there are any issues with the video. They also contain the HTML coding mentioned in the video.
The link to the original video that I got the idea from is here.
Let's get started!
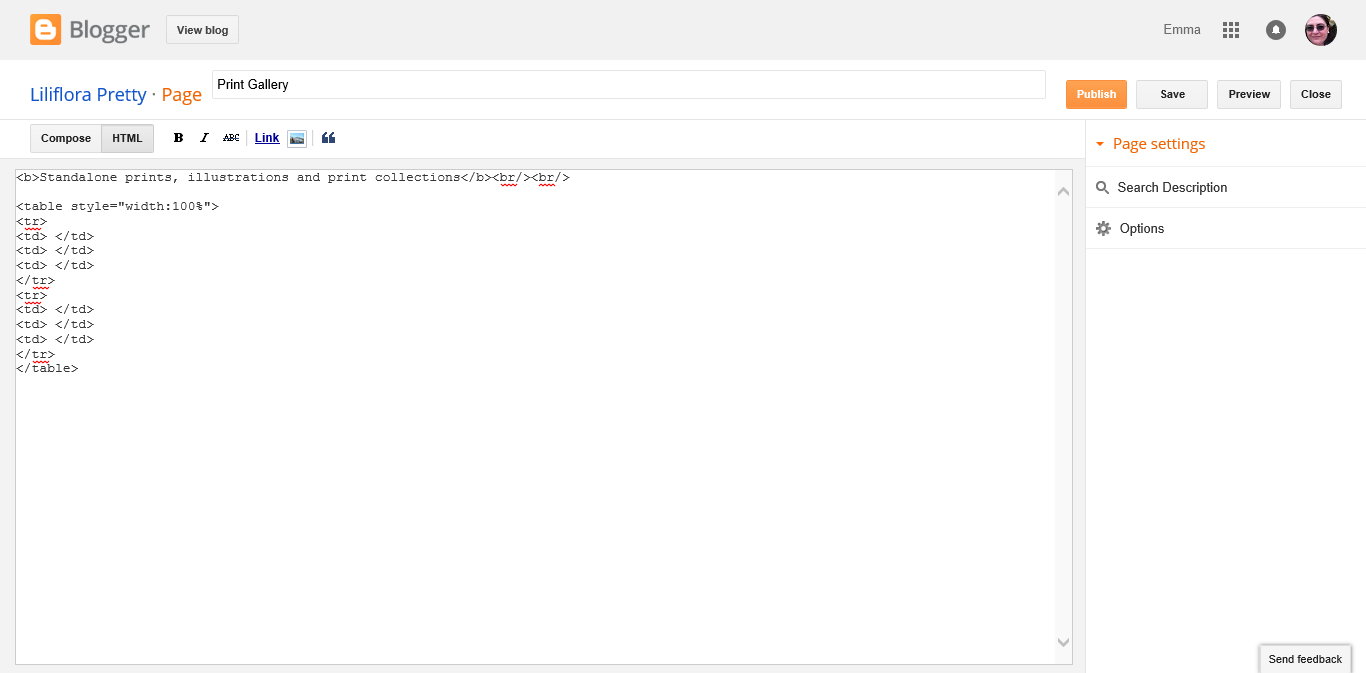
I'm going to assume that you're looking at this post because you already have a Blogger blog and have started posting, but you'd like to add a picture gallery to your posts or to a separate page. I'm going to give you some extremely simple Html coding to help with creating a basic picture gallery. Firstly, I suggest that you prepare your images and try to use square ones if you can. Three small images fit neatly across a blogger page. Don't worry if you have large images, we're going to use blogger to display smaller ones on the page, and then when your visitors click on them, they'll come up larger in a lightbox effect. Log into your blogger account and start a new page or post in your blog. Change from the Compose mode to the HTML mode using the buttons on the top left. Copy and paste the following HTML code into your post:
It should look like this:

This sets up a table with just one row of 3 images. For each additional row of images, you would like to add, insert just this HTML between the and tags:
The coding for a table with 2 rows of 3 columns would then look like this:
All good so far? Great! Let's get some images in here!
Subscribe to:
Posts (Atom)