


There is a constant quest for happiness. Sometimes we are fed misinformation and terrible ideas that tell us that putting someone else’s happiness before our own is the right thing to do. For some of us, we are taught that our happiness comes in the form of servitude to parents, a spouse, children, jobs and the list goes on. We are often given misinformation based on another person’s personal experiences and preferences as it pertains to their happiness.
What we fail to ever hear is that happiness is different for everyone. The things that make you happy may not make someone else as fulfilled. Many of us spend significant amounts of our time chasing someone else’s vision of what happiness is. We think because we don’t have the same ideas or goals as others that we will be less happy than someone else
The problem with taking another individual’s idea of happiness is that you don’t give yourself time to try to figure out what will make you happy. Therefore causing yourself unnecessary mental turmoil over why you are not feeling as happy as you thought you would be once you mimicked the life of another individual. Often we tend to go with society and what the status quo tells us will make us happy, or the visions portrayed by someone else’s life, and we tend to make the assumption because they have a particular lifestyle they have attained true happiness. Assuming someone is happy, based solely on their looks is a big misconception and further inhibits our acquisition of true happiness. I will share with you eight ways to attain personal happiness.

1. Take care of yourself. If you are not performing at your greatest potential how can you be any good to anyone else? All of your needs must be met, and you should actively work on doing something for yourself every day. Stop putting what you want on the back burner for others. You should be the most important person to yourself.
Post a Comment
Description
Minimalism, an artistic movement that emerged in the United States in the 1960s, sought to feature the basic elements and eliminate non-essential components. In recent years, minimalism is making a strong comeback and you're likely to find minimalist design in everything from product packaging and websites to photography and home interiors.


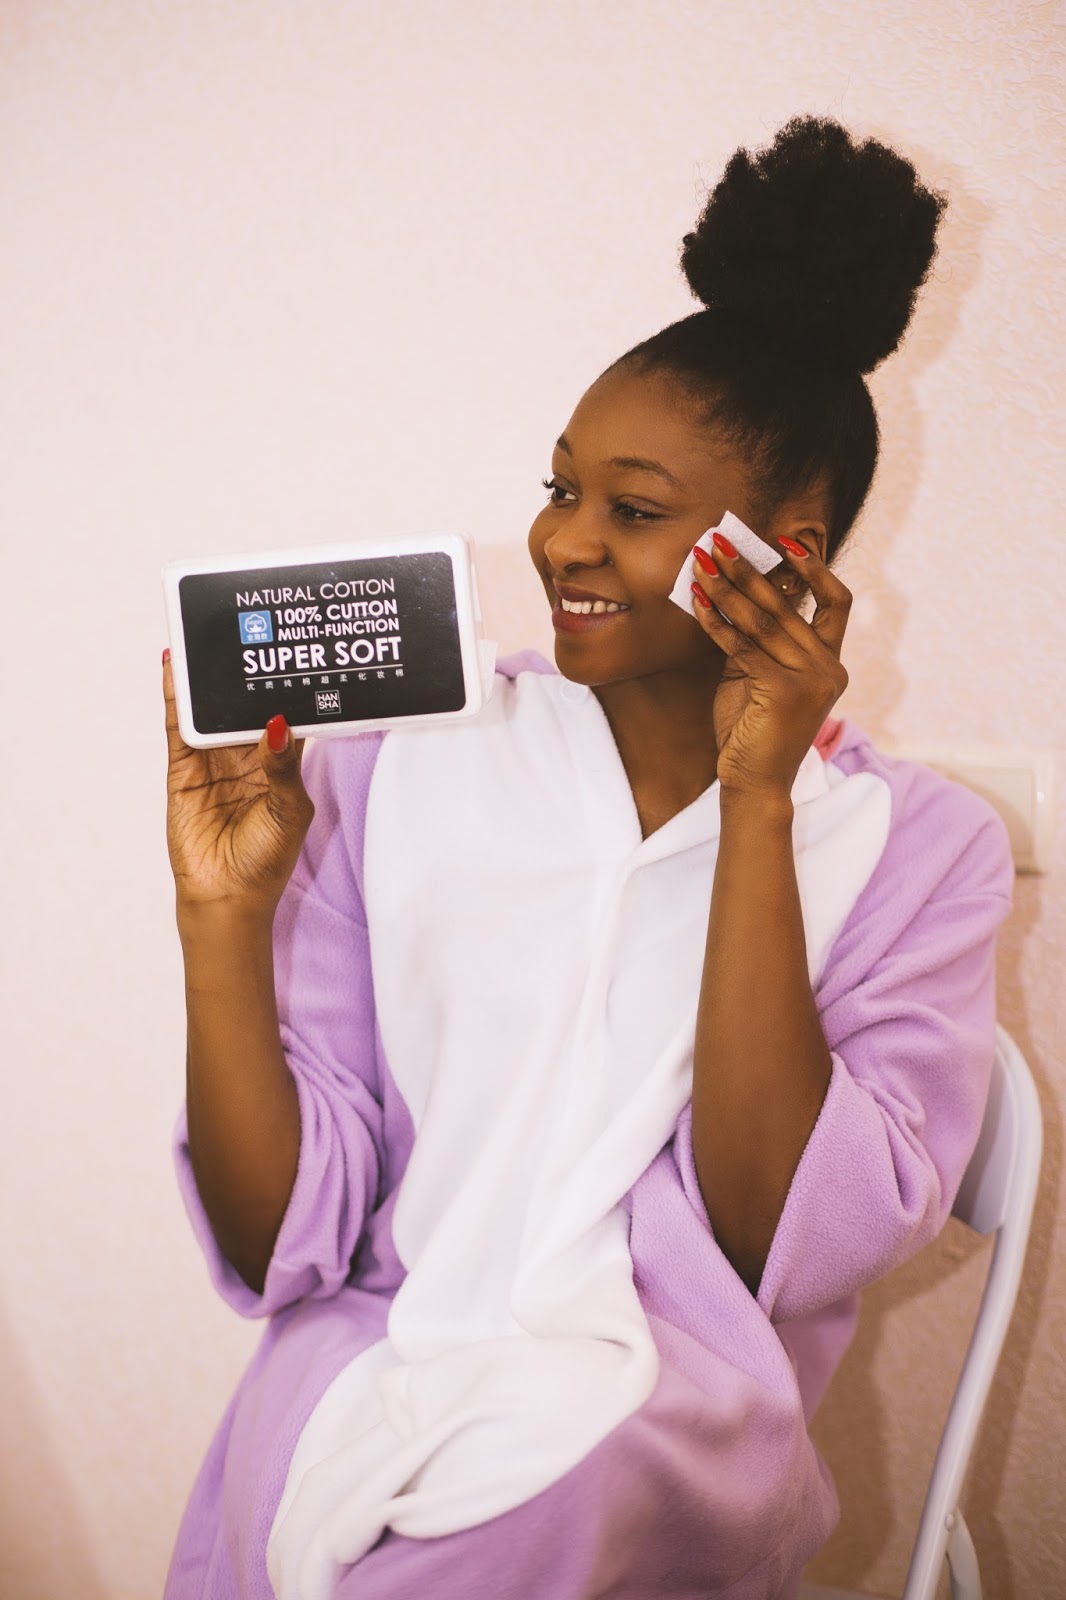
To get healthy and glowing skin, you need to show it the love and care it deserves. By caring for your skin the right way, you’ll see and feel a real difference in your skin’s complexion. Read on for simple tips on washing your face the right way, while taking care of your skin at the same time.
1. Wash your hands first
If your hands have any bacteria on them (which they will from day-to-day use), this will end up transferred to your face.
2. Water is not enough
Water alone won’t be able to remove excess sebum, oil soluble particles or other types of dirt. It simply doesn't have the same cleaning power and ability to remove dirt like an effective cleanser does.
3. Lukewarm water
If you use a facial cleanser that requires water, make sure you use lukewarm water to wash your face. Lukewarm water will help open your pores while water that is too hot will dehydrate your skin.
4. Be gentle on your skin
The skin on your face is more sensitive than the skin on the rest of your body, so it needs to be handled with extra-care. The trick is to be gentle. Don’t scrub your skin aggressively while washing or applying your moisturizer. To dry your face, just lightly pat it with a soft towel and avoid rubbing.
5. Don’t over cleanse
Yes, there’s such a thing as over cleansing. Cleansing twice a day is enough. Over-cleansing can weaken the natural moisture and lipid barrier that helps protect your skin. This can also increase the chance of allowing irritants and allergens to enter the skin.

6. Find the right cleanser for your skin type
It’s very important to find the right cleanser for your skin type. Using the wrong product could actually lead to damaged skin. That’s why it’s so important to look for a gentle cleanser that thoroughly cleans your face and at the same time cares for your skin.


 |
 |
During my visit to Dragobrat we had a photo contest and I won. The Ride and Travel team presented me with this Hoodie by a Ukrainian street wear brand designer called Hovanky. I totally love the texture which keeps you warm with a striking design. Click to view more about my trip to the Carpathians.

Here are the written instructions in case there are any issues with the video. They also contain the HTML coding mentioned in the video.
The link to the original video that I got the idea from is here.
Let's get started!
I'm going to assume that you're looking at this post because you already have a Blogger blog and have started posting, but you'd like to add a picture gallery to your posts or to a separate page. I'm going to give you some extremely simple Html coding to help with creating a basic picture gallery. Firstly, I suggest that you prepare your images and try to use square ones if you can. Three small images fit neatly across a blogger page. Don't worry if you have large images, we're going to use blogger to display smaller ones on the page, and then when your visitors click on them, they'll come up larger in a lightbox effect. Log into your blogger account and start a new page or post in your blog. Change from the Compose mode to the HTML mode using the buttons on the top left. Copy and paste the following HTML code into your post:
It should look like this:

This sets up a table with just one row of 3 images. For each additional row of images, you would like to add, insert just this HTML between the and tags:
The coding for a table with 2 rows of 3 columns would then look like this:
All good so far? Great! Let's get some images in here!
 |
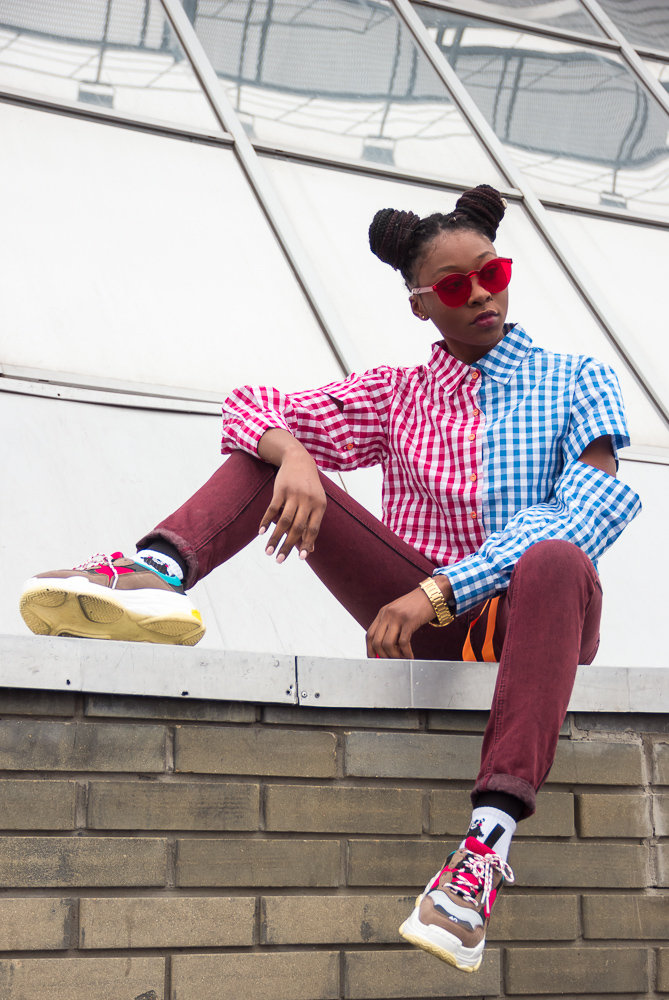
 Honestly it has been an amazing time over here in Dnipro. I am having so much fun with everything. I will quickly drop my outfit details because today Is so pose to be a rest day for me. |
 |
 Here are my outfit details. Top : Rosegal. Pants : Boohoo. Alpha, the first; the beginning, but not the end. A watch represents not only your sense of style, it is the soul craftsmanship of the universe, it defines who you are. The story Teller.Sneakers :Here (Also styled here) Glasses : 1. Photo:Shot by Mart Photos. Location : Міст-Сіті Центр Dnipro. |
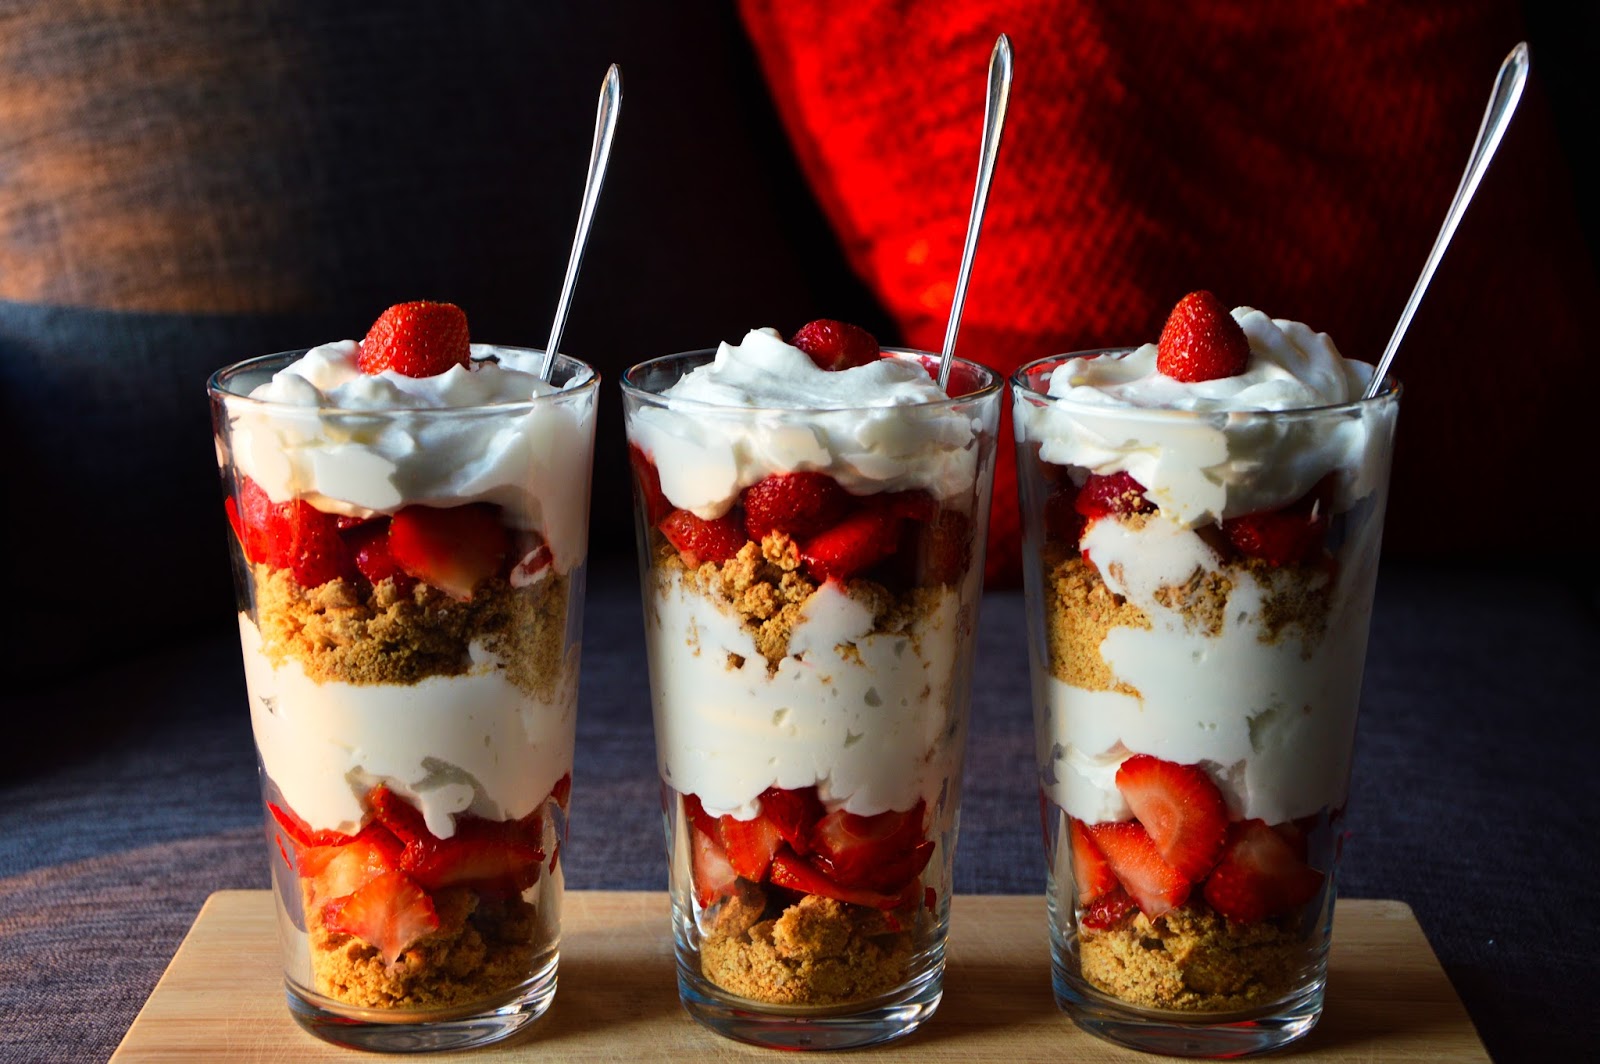
Strawberry Milkshake

Ingredients: 200 grams of yogurt, some strawberries, a little mint leaves (according to personal preference)

Step 1
Strawberry cleaning: don’t remove the pedicles first and wash with water. Soak strawberries in the light brine for 10 minutes and then wash up.

Step 2
Remove the pedicles of strawberries and cut in half, refrigerate for 1 to 2 hours.

Step 3
Pour strawberries and milk into the blender to mix. Watch to see if the strawberries are broken. Stir well and pour into the bottle you have prepared. This good-looking and tasty drink must win children’s hearts!

Strawberry jam

Ingredients: strawberries, sugar.(the ratio of strawberries to sugar is 4:1)

Step 1
Wash the strawberries and dry the water. Cut in half or four.

Step 2
Pour the sugar into the water until the water seeps, then stir-fry to make good jam.If you can reach 24 hours, the effect will be better. If you can’t wait, three hours is also OK.

Step 3
Putting strawberry all together with the seeing water in a pot, stir fry constantly until the strawberries become soft. Boil dry slowly to get the status of the thick over medium heat. If time is too long, the color will become black. So you’d better use wide mouth pot for water to evaporate rapidly.

Likewise, put the strawberry jam into some pretty bottles. it is rich in sugar with a long shelf life. As long as the containers are clean and sealed, the refrigerator can be kept for several months.
With strawberry jam, everything can be changed to strawberry flavor.

Sugar-coated strawberries

Ingredients: strawberries, white sugar 100g, bamboo sticks.

Step 1
Soak washed strawberries in brine and dry in the air. String one by one with bamboo sticks.

Step 2
Pour water and sugar into a pot to cook the syrup until it ropes and changes color. In the later stage, change to low flame to avoid scorch. The syrup must be thick, or you will drip everywhere.

Step 3
Hold the top of a bamboo stick and pour the syrup on strawberries with a spoon. Turn it over slightly to make syrup spread evenly.
Place it for a moment until the syrup is curdled, then you can enjoy the sweet sugar-coated strawberries.


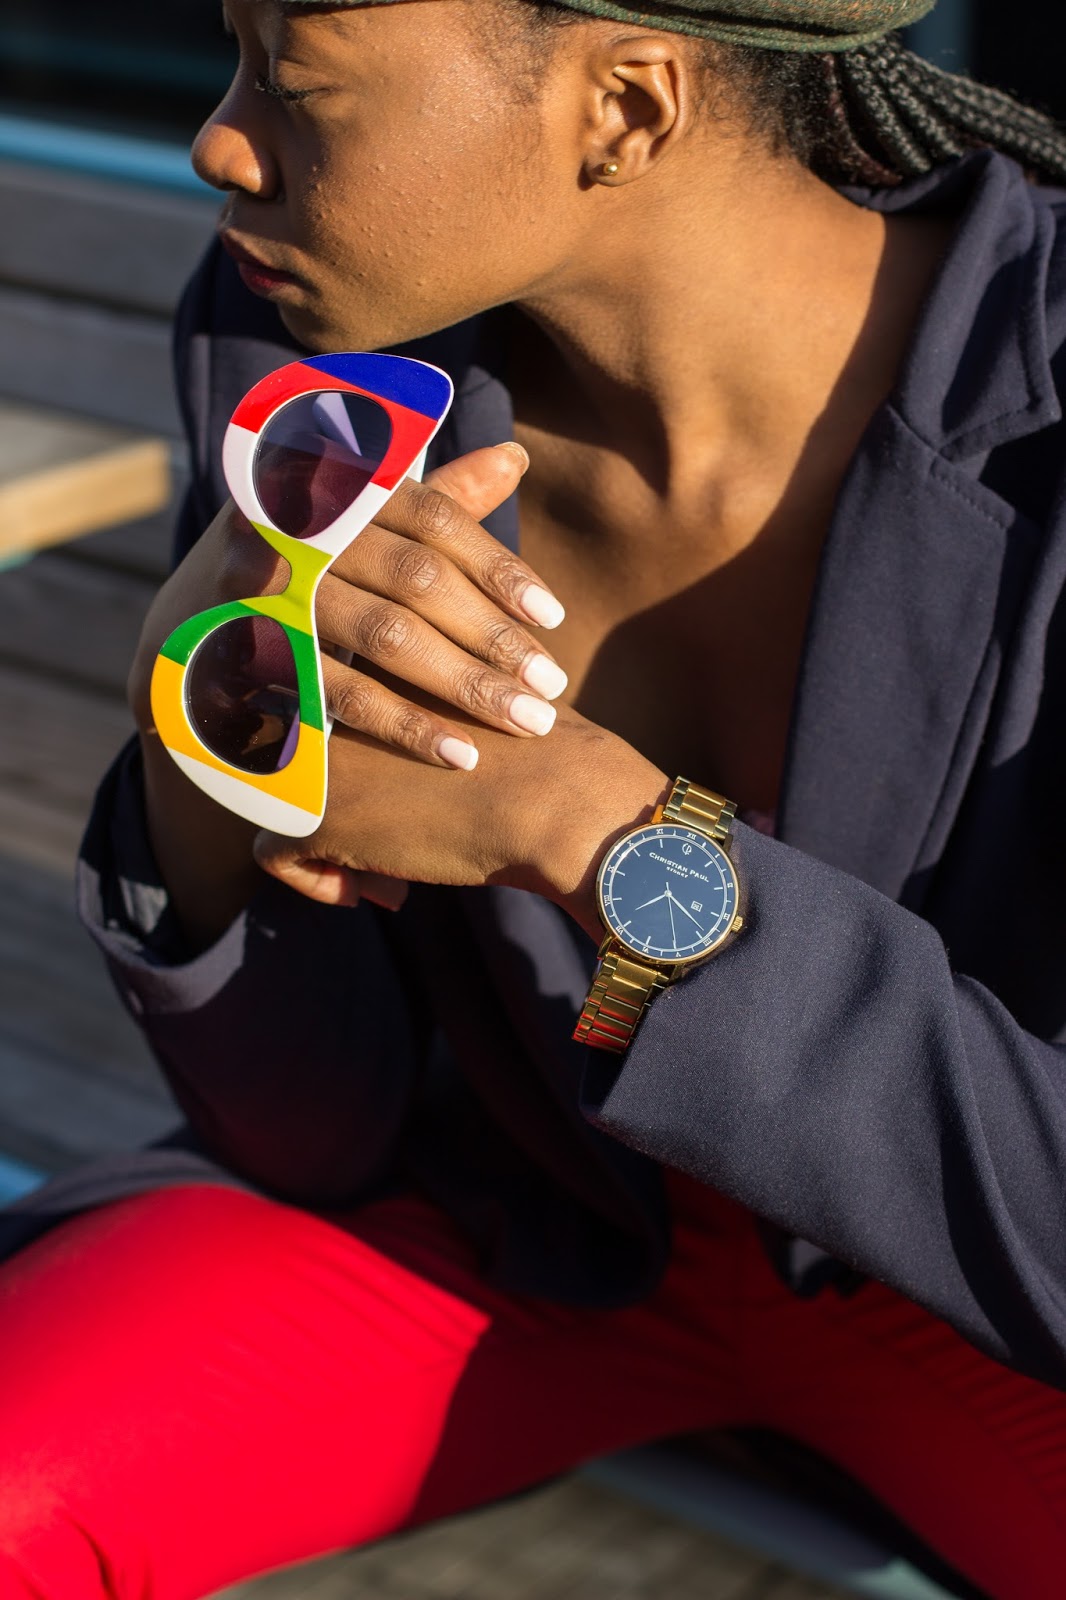

Alpha, the first; the beginning, but not the end. A watch represents not only your sense of style, it is the soul craftsmanship of the universe, it defines who you are.
SPECIFICATIONS
43mm Black dial with Gold Hands
Indexes and Roman Numerals
Gold 316L stainless Steel Case
9U13 Miyota Quartz Movement
Hardened Mineral Crystal Lens
20mm Gold Link 316L Stainless Steel Detachable Strap suitable for 43mm watches
INTERCHANGEABLE QUICK RELEASE STRAPS
Simply use your finger to push and release the strap
PRODUCT DESCRIPTION
Alpha, the first; the beginning, but not the end. A watch represents not only your sense of style, it is the soul craftsmanship of the universe, it defines who you are.


Subscribe to:
Posts (Atom)